Create Your Workspace and Yam
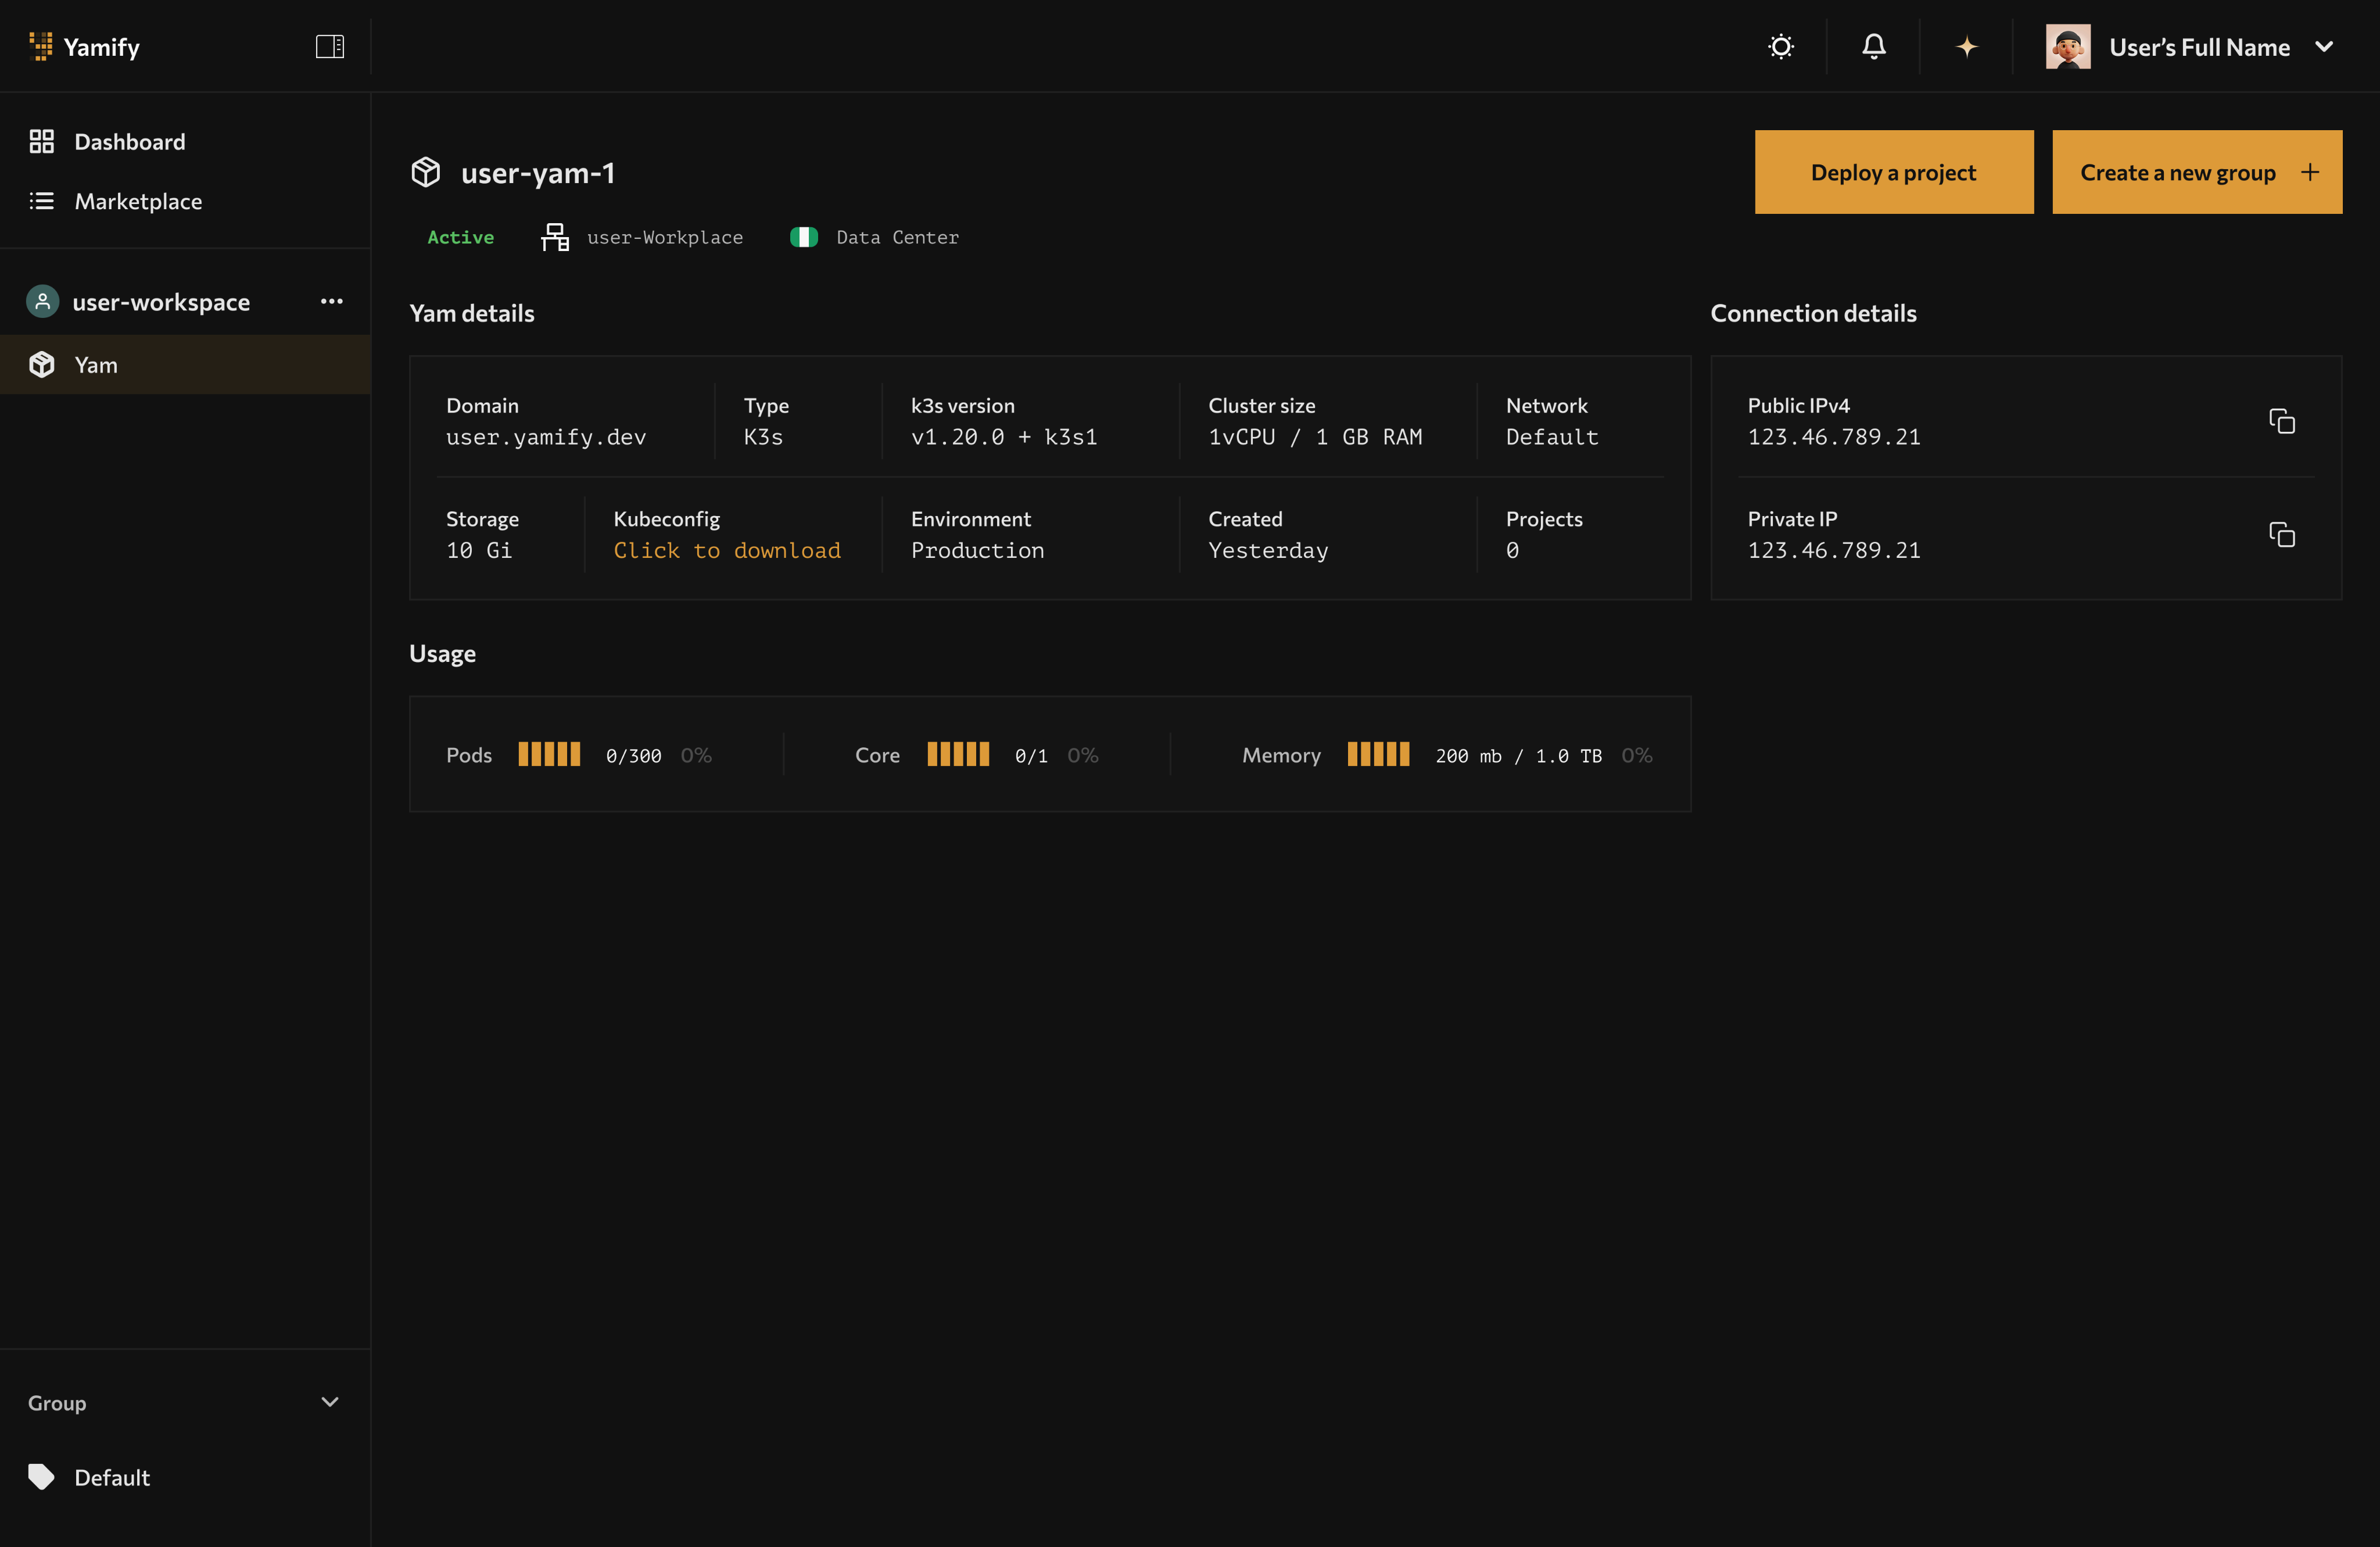
Yamify dashboard after workspace creation, with the workspace sidebar and Yam view available.
- Sign up at yamify.co.
- Enter your workspace base name (example:
mike). - Yam is provisioned automatically.
- You are redirected to your Yam page where provisioning status appears.
Naming rules
- Use lowercase letters (
a-z) only. - Yamify appends
-workspaceautomatically. - Example: input
mike-> finalmike-workspace.
What success looks like
- You can see your workspace in the left sidebar.
- The
Yammenu appears under the workspace. - Yam details and app deployment area are visible on the right panel.